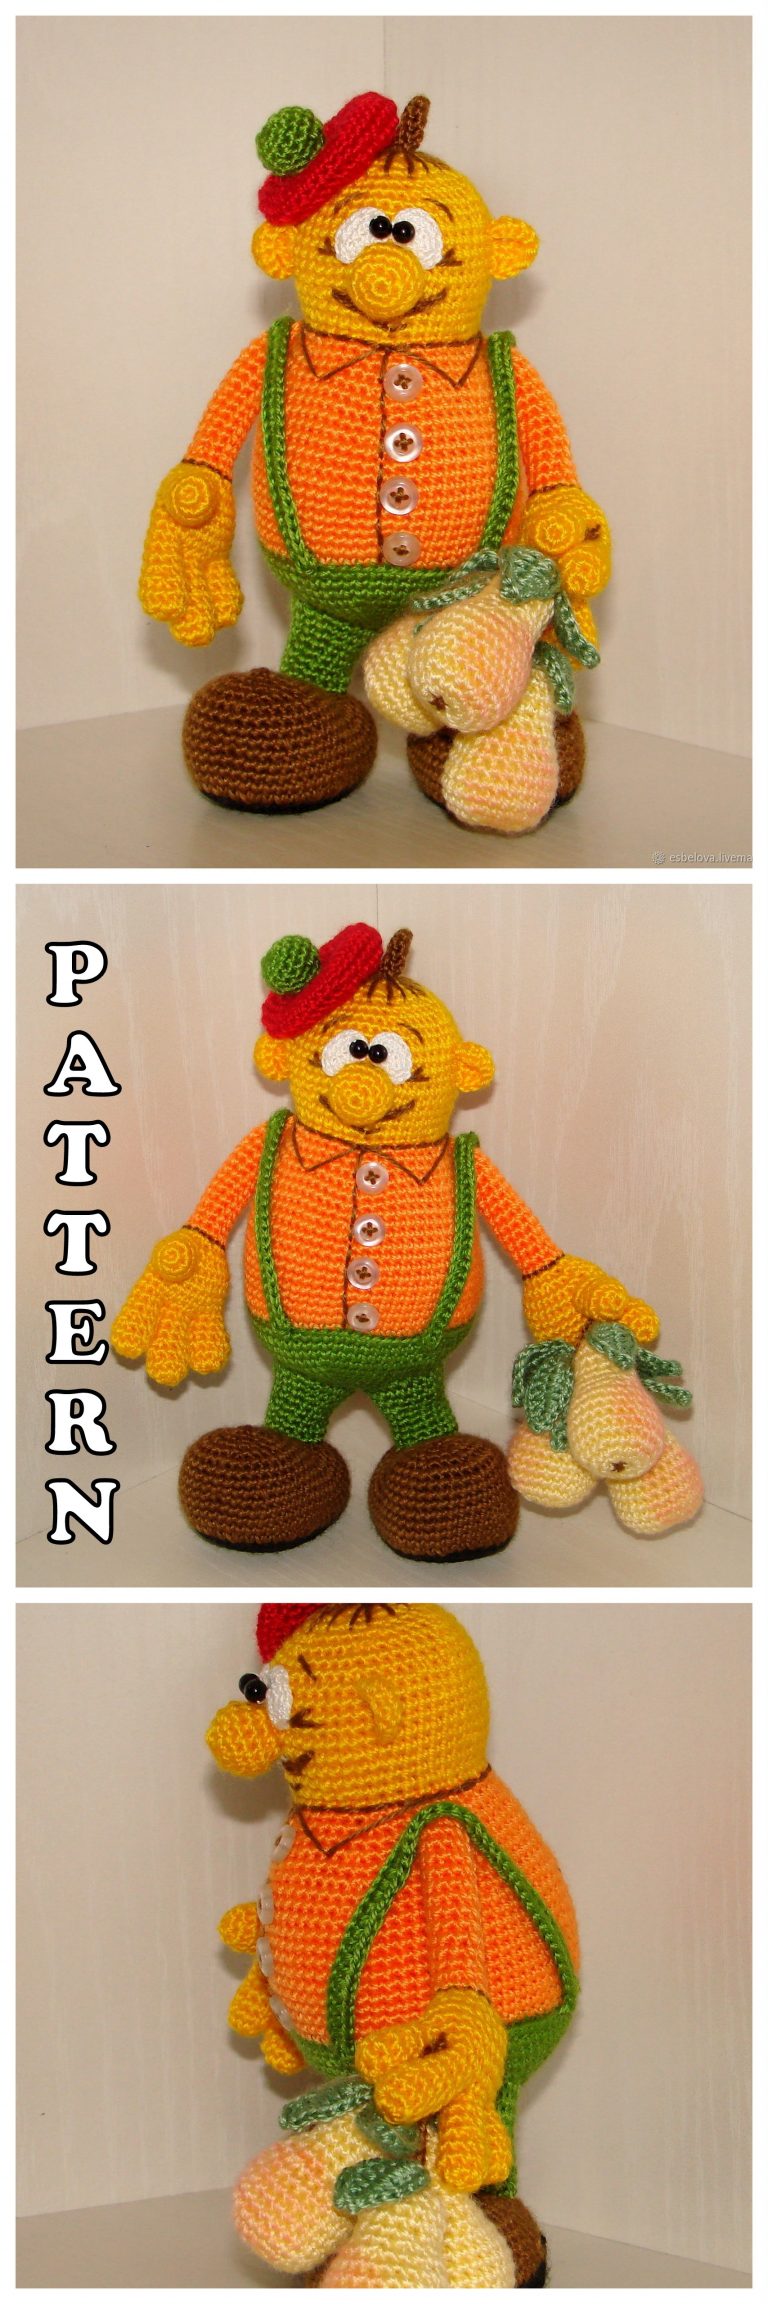
Amigurumi Gnome Elf Free Crochet Pattern
Welcome to our website where you can find the most beautiful and highest quality samples of Amigurumi patterns. All the amigurumi patterns you can’t find are available on our website. Every day we continue to share new amigurumi patterns for you. Stay tuned to reach these amigurumi patterns before anyone else
Abbreviations:
Sc – single crochet,
inc – increase,
Dec – decrease
Hdc – half crochet
CH – chain
We are preparing materials.
We will need:
– a yarn of green color (I have Alize Cotton Gold) and three more colors to choose from (I have
these are lilac, orange and yellow colors from Gazzal Baby Cotton)
hook number 2
-thin stick or hook for stuffing thin parts
needle with a large eye for stitching parts
– sewing threads in tone to the selected colors (or you can monofilament) and a needle
-scissors
– filler synthetic winterizer (or synthetic winterizer)
– black beads (for the eye)
– a pair of large beads for weighting the legs (optional)
– multi-colored beads, bells or a beautiful bead on a cap, beads or
pendants for decoration


Cap and body of the Elf.
We make the amigurumi ring, leaving a long “tail” (we immediately pull it out
out through the hole). With the help of this ponytail, we will then spin
end of cap. We will knit 22 rows of a striped cap FOR THE REAR HALF-CHAINS.
We fill the gnome in the course of knitting tightly, but at the same time giving it a little
oblate shape, like a pillow 🙂 Stripes in the cap alternate as you
like. The main thing is that the main color of the gnome (the lower part) begins with 42 rows.
From 1 to 41 rows we knit in stripes, and then in one color.
If you want the same order of stripes as mine, then we begin to knit like this: 1 row orange, 2,3 row purple (this color I chose as the main one), 4,5 row yellow. AND
then the order is repeated. In this case, 41 rows (end of cap) will be orange,
and 42 purple.
1 row: 4 SC into magic ring
Further rows behind the rear half-loops:
2 row: 4 SC
3 row: “1 SC, inc.” – 2 times (6 SC)
4-5 row: 6 SC
6 row: “2 SC, inc.” – 2 times (8 SC)
7-10 row: 8 SC
11 row: “3 SC, inc.” – 2 times (10 SC)
12-15 row: 10 SC
16 row: “4 SC, inc.” – 2 times (12 SC)
17-18 row: 12 SC
19 row: “5 SC, inc.” – 2 times (14 SC)
20 row: 14 SC
21 row: “6 SC, inc.” – 2 times (16 SC)
22 row: 16 SC
Next, we knit for both walls of the loop:
23 row: “7 SC, inc.” – 2 times (18 SC)
24 row: “8 SC, inc.” – 2 times (20 SC)
25 row: “9 SC, inc.” – 2 times (22 SC)
26 row: “10 SC, inc.” – 2 times (24 SC)
27 row: “11 SC, inc.” – 2 times (26 SC)
28 row: “12 SC, inc.” – 2 times (28 SC)
29 row: “13 SC, inc.” – 2 times (30 SC)
30 row: “14 SC, inc.” – 2 times (32 SC)
31 row: “15 SC, inc.” – 2 times (34 SC)
32 row: “16 SC, inc.” – 2 times (36 SC)
33-35 row: 36 SC
36 row: “5 SC, inc.” – 6 times (42 SC)
37-39 row: 42 SC
40 row: “6 SC, inc.” – 6 times (48 SC)
41 row: 48 SC
The cap is over, now we knit in one color.
42-43 row: 48 SC
44 row: “7 SC, inc.” – 6 times (54 SC)
45-47 row: 54 SC
48 row: “8 SC, inc.” – 6 times (60 SC)
49 row: 60 SC FOR THE FRONT HALF-LOOPS.
In this place we will have a belt.
50-52 row: 60 SC we knit as usual, for both sides of the loop
53 row: “9 SC, inc.” – 6 times (66 SC)
54 row: 66 SC
55 row: we bind 66 columns with a crochet step.
Fasten, cut and hide the thread.
Lower part and legs.
Take a thread of the same color as the body. We return to the 48th row and begin to knit the ass
gnome 🙂 We tie the thread to the first back half loop of the 48th row and knit in a circle:
1 row: 60 SC
2 row: “8 SC, dec.” – 6 times (54 SC)
3 row: “7 SC, dec.” – 6 times (48 SC)
4th row: “6 SC, dec.” – 6 times (42 SC)
5 row: “5 SC, dec.” – 6 times (36 SC)
6 row: “4 SC, dec.” – 6 times (30 SC)
Make sure the gnome is well packed because the hole will close soon.
7 row: “3 SC, dec.” – 6 times (24 SC)
8 row: “2 SC, dec.” – 6 times (18 SC)
9 row: “1 SC, dec.” – 6 times (12 SC)
Cut the thread, leaving a long end, thread it into the needle and sew the hole along
straight. The gnome’s body is ready!
Legs. We begin to knit in the color of your choice. We fill only the lower part
legs, and it’s better to put a heavy bead there together with the filler so that the leg
had weight:
1 row: 6 SC into magic ring
2 row: 6 inc. (12 SC)
3 row: “1 SC, inc.” – 6 times (18 SC)
4-7 row: 18 SC
8 row: “1 SC, dec.” – 6 times (12 SC)
9 row: 6 dec.
Then we change the thread to light green and
we knit another 11 rows of 6 SC (without stuffing).
Fold in half, stitch with single crochet, crocheting loops of two
halves of the last row. Leave the thread for sewing. Second leg
similarly.
Hands and ears.
Knit knobs with green yarn. Only fill the bottom of the handle. I instead
I put a stuffing into a suitable bead.
1 row: 6 SC into magic ring
2 row: 6 inc. (12 SC)
3-4 row: 12 SC
5 row: 6 dec.
6-10 row: 6 SC
Fold in half, stitch with single crochet, crocheting loops of two
halves of the last row. Leave the thread for sewing.
The second handle is similar.
Ears (no need to fill):
1 row: 4 SC into magic ring
2 row: “1 SC, inc.” – 2 times (6 SC)
3 row: “2 SC, inc.” – 2 times (8 SC)
4th row: “3 SC, inc.” – 2 times (10 SC)
5 row: “4 SC, inc.” – 2 times (12 SC)
6 row: “5 SC, inc.” – 2 times (14 SC)
7 row: “6 SC, inc.” – 2 times (16 SC)
8-9 row: 16 SC
10 row: “6 SC, dec.” – 2 times (14 SC)
Fold in half, stitch with single crochet, crocheting loops of two
halves of the last row. Before sewing, it will need to be folded again
in half and you will see that the ears will immediately take the shape we need. I leave the thread
the ears are long, because then I use it to hang Elfik.
Face.
We knit an oval with green yarn according to this pattern:
1 row: 8 CH., Second from the hook loop inc., 5 SC, 3 SC to the last loop,
rotate knitting, 6 SC.
2 row: 1 SC, inc., 5 SC, inc., 1 SC, inc., 5 SC, inc.
3 row: 2 SC, inc., 6 SC, inc., 2 SC, inc., 6 SC, inc.
4 row: 3 SC, inc., 7 SC, inc., 3 SC, inc., 7 SC, inc.
5 row: 4 SC, inc., 8 SC, inc., 4 SC, inc., 8 SC, inc.
We knit eyes with white yarn:
Tie 6 SC into magic ring, fasten and cut the thread. Sew in the middle
each eye on a black bead. Sew eyes to the face with sewing thread.
You can use ready-made eyes, as you like more 🙂
Embroider the nose. I have it at a height of two rows from the lower edge of the face and a length of 2
column. Just make stitches with light green thread until the spout is right.
volume.
Assembly and decoration.
We have a long thread left at the end of the cap. It’s time to round off the tip.
It is very easy to do. Just thread the needle into the needle and draw the needle on the side of the gnome
straight through the convex front half-loops of the rows. You need to do this approximately
up to the 20th row. Then we pull the thread strongly and the cap will round itself.
It is necessary to tighten harder so that the round bead is beautiful and even. Neatly
fix the thread with a pair of knots in the place where the bending of the cap ends. the end
hide the threads inside the gnome.
Assembly.
First you need to sew on your face to understand how it’s more beautiful for us to arrange the ears
handles and legs. Before sewing under the face you need to put a thin layer
filler so that it becomes slightly convex. Try on your face and carefully
we sew it to the head with sewing threads, trying to do everything exactly. If
necessary, you can first pin with pins, so as not to move out. I sew
so that my bottom edge of the face is one row below the end of the cap.
Then sew the pens. They are located on the front half of the body immediately below
cap.
We fold the ears as described in stage 4 and sew on the sides just above
eye level.
Sew the legs in the middle of the lower part. I make every leg
approximately in line with the eyes.
In the middle of the body we can see the line where we divided the series into two half-loops. This
I embroider a part with beads to make a beautiful belt. You can hit the needle
a beautiful ribbon and make a belt from the stitches of this ribbon – it all depends on your
fantasies 🙂 On the belt you can hang a pendant or a pair of beautiful beads.
Be sure to sew a bell on the tip of the cap. If there is no bells, then you can
a beautiful bead. I also love to bead legs. That’s all! Our Elfik
ready 🙂
Well, I also want to tell separately how I make a beautiful rope for hanging. 2
I bring the light green threads from the ears to the middle of the top of the cap at a distance of one
columns from each other. I add 2 more colorful threads to them and as a result we have
it turns out three threads on both sides of the column. I braid on each side manually
a thin long pigtail and then tie them with a knot. It turns out like this
multi-colored rope 🙂